When setting up an edging material you can specify the optimize thickness. The optimize thickness can impact the final optimized panel size depending on the settings for the input panel.
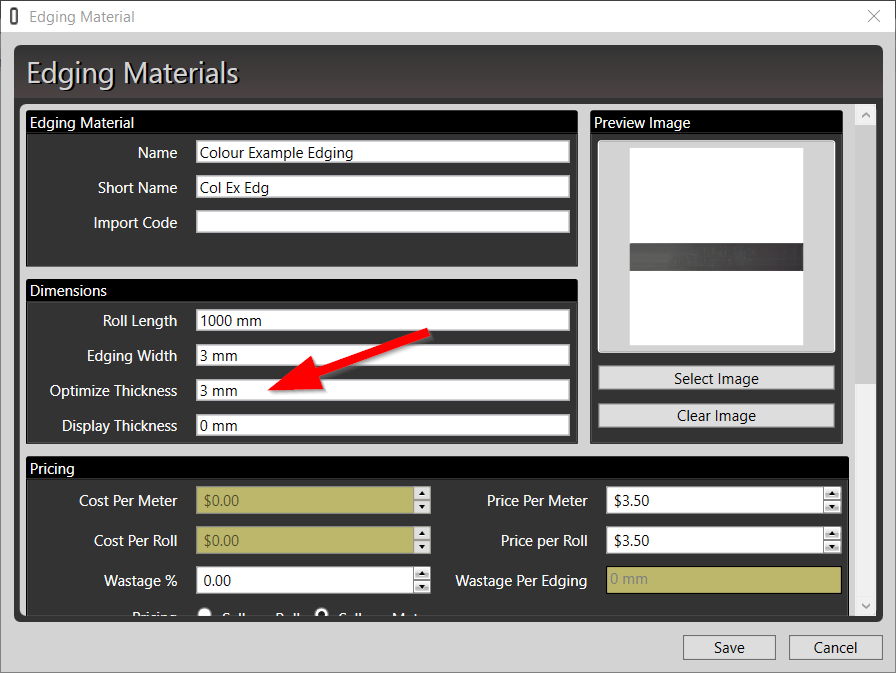
There are two main options. You can have MaxCut automatically reduce the final panel size by the edging settings. Alternatively you can have MaxCut keep the final panel size and "add" edging thickness onto that.
Exclude edging thickness in the final panel size of a specific panel
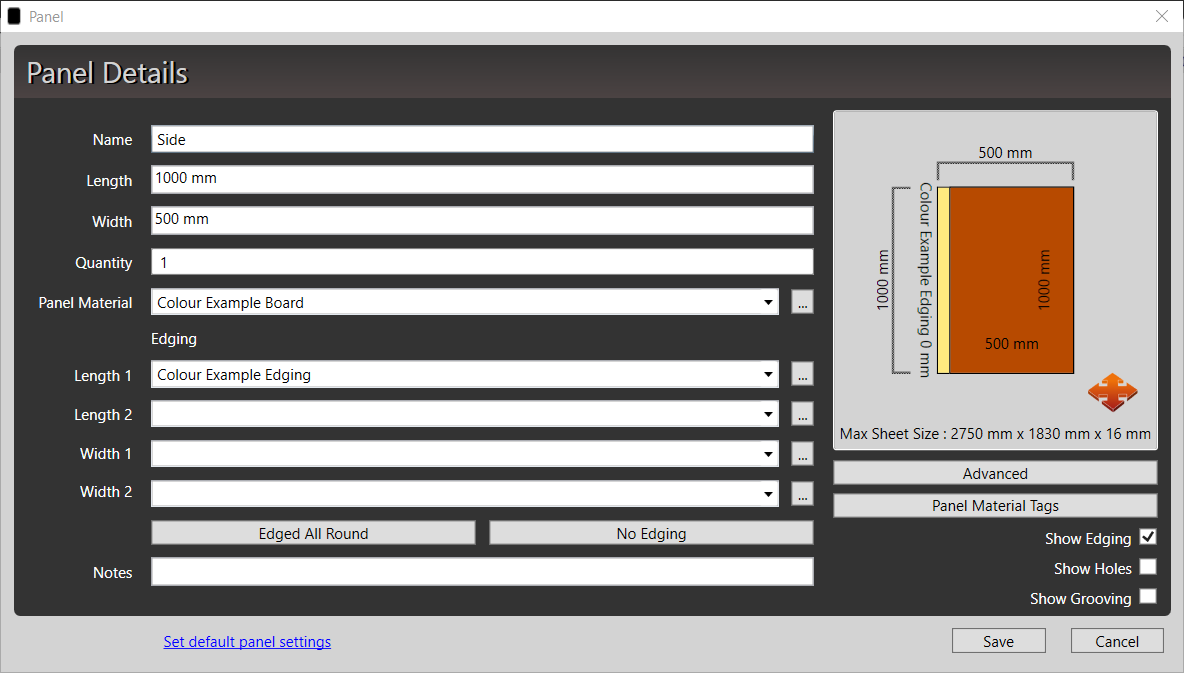
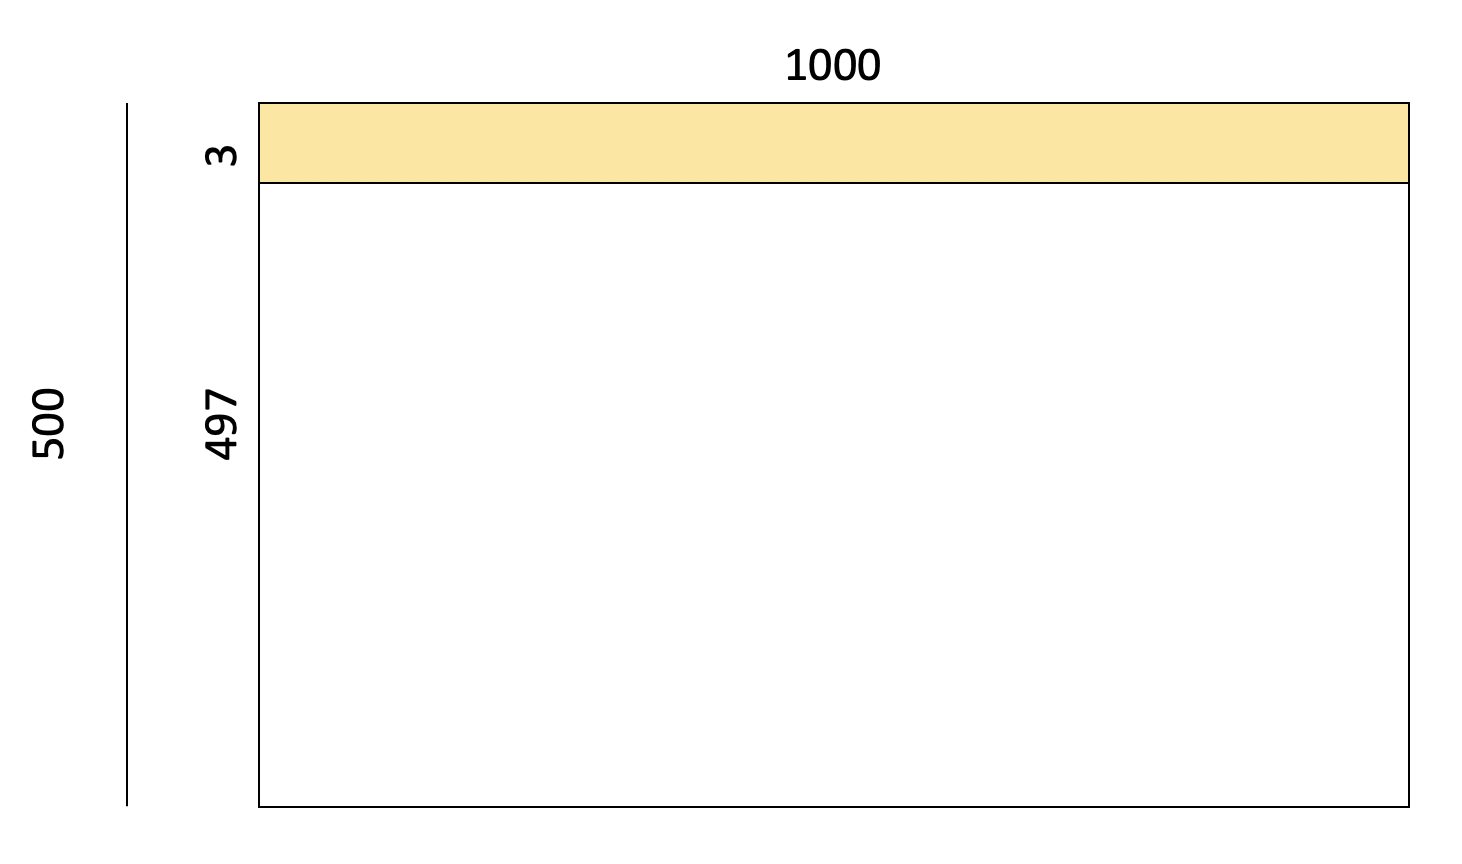
To demonstrate how to adjust the settings lets use the following input panel as an example. This panel has a 1000mm (L) x 500mm (W) size with 3mm Colour Example Edging along "Length 1".
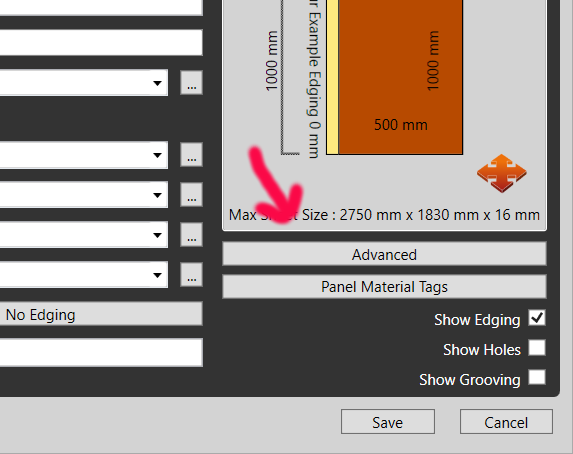
To adjust the edging behaviour for that panel you need to click the advanced button on the bottom right hand side of the input panel window.
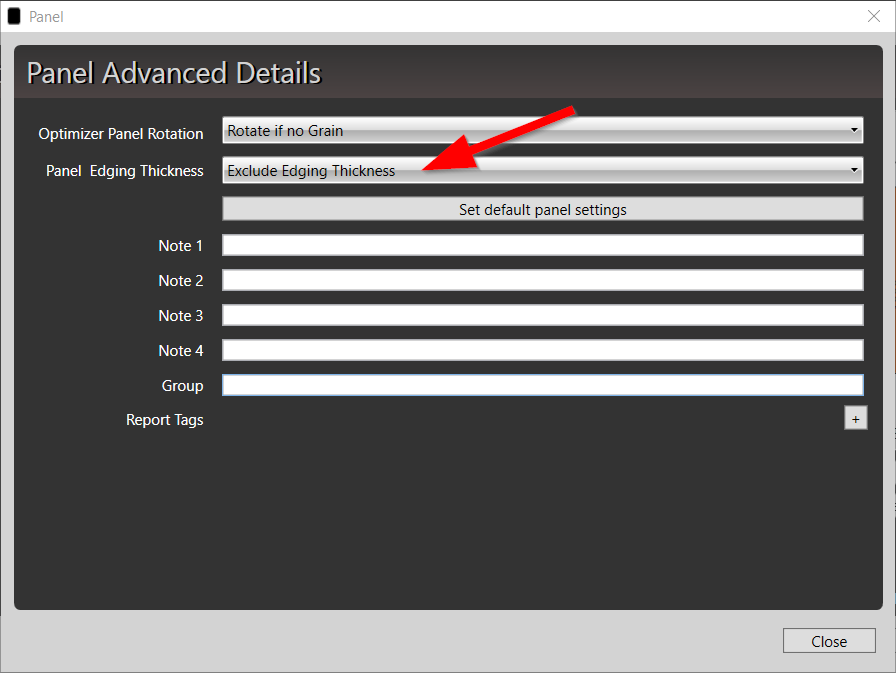
Then select the "Exclude Edging Thickness" option under "Panel Edging Thickness"
If you now run the optimization and look at the final panel size it will be 1000mm x 500mm.

Note the change you have made is only for this specific panel. At the end of this article we show you how to change the default behaviour for all new input panels.
Include edging thickness in the final panel size for a specific panel
To demonstrate how to adjust the settings lets use the following input panel as an example. This panel has a 1000mm (L) x 500mm (W) size with 3mm Colour Example Edging along "Length 1".
To adjust the edging behaviour for that panel you need to click the advanced button on the bottom right hand side of the input panel window.
Then select the "Include Edging Thickness" option under "Panel Edging Thickness"

If you now run the optimization and look at the final panel size it will be 1000mm x 497mm. MaxCut would have removed 3mm from the width of the input panel to allow for a 3mm edging along one length.
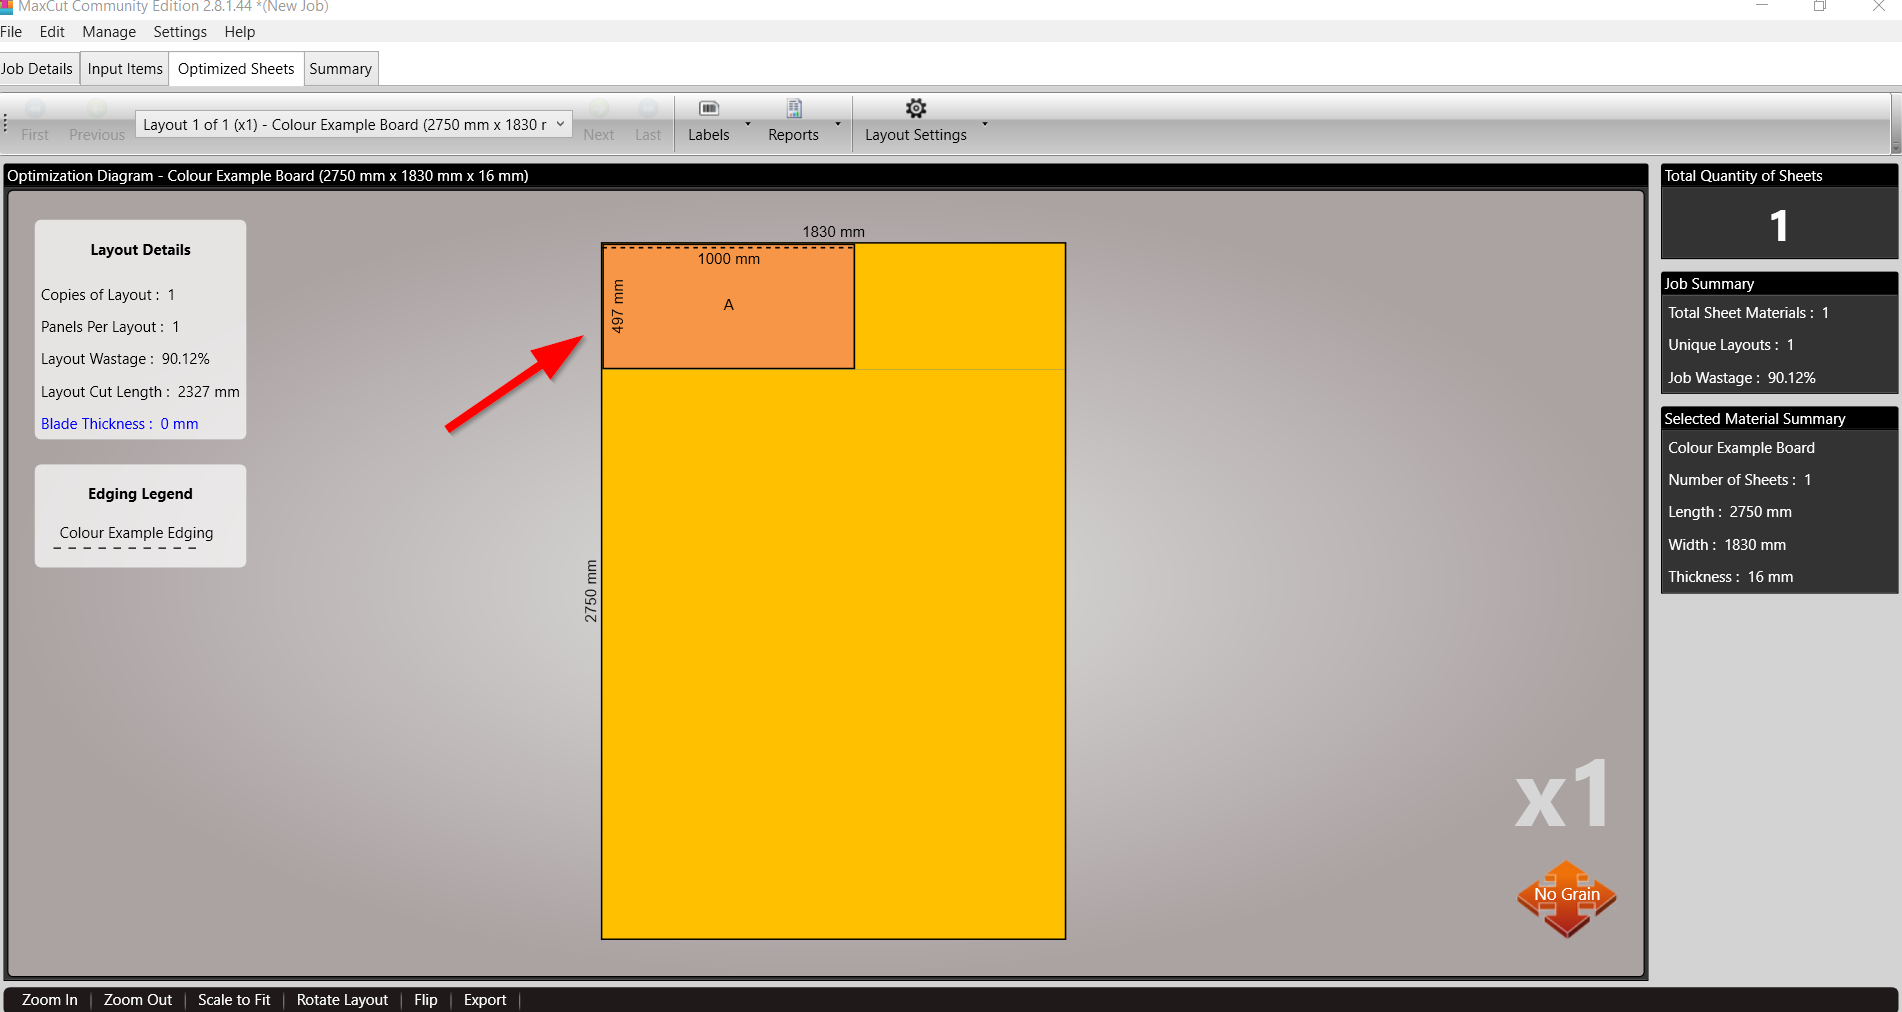
Looking closer at the panel you can see the dimension adjustment represented visually. Keep in mind, edging on a length impacts the panels width and edging on the width impacts the panels length.
How to set the default behaviour for all new input panels
Up to now we have shown you how to adjust the way edging impacts the optimisation result for a specific input panel. Let's say you want it to default to a certain way for all input panels. You can set this up in MaxCut as well.
First, on the main menu go to Settings > Item Defaults > Input Panel
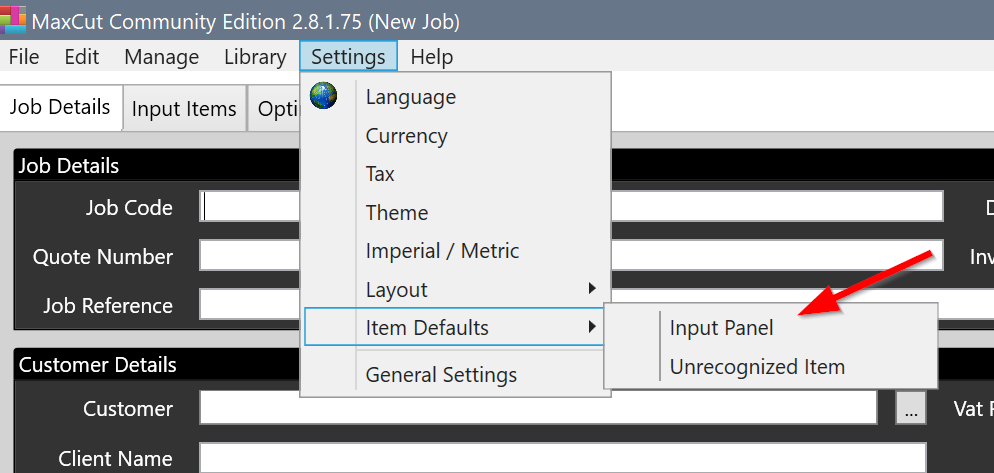
This will show you the Input Panel Defaults. These are the default settings a new panel takes on when you add it to MaxCut. You can now change the "Panel Edging Thickness" setting to either default to include or exclude edging thickness.

This only changes the default values for any new input panels you add. All existing panels would have the previous default or custom value set.
Comments
0 comments
Please sign in to leave a comment.